
Lint is sneaky. The screen catches most of it, yet a fine layer still slips through and settles along the inside of the duct, at every bend and around the outside hood. Over months, that layer adds up to a real restriction. If you found this page by looking up “dryer vent replacement”, here is what households in Edmonton usually want to know about dryer vent replacement, explained clearly and without exaggeration or scare tactics.
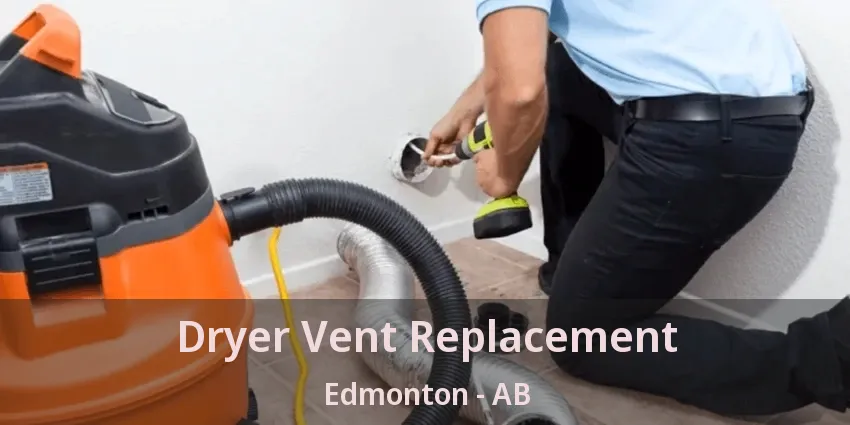
Rigid metal is the safer pick, and in the field the duct material also tells us a lot about how a vent has been treated. Rigid aluminum or galvanized pipe with taped joints usually comes out with a light, even film of lint. Accordion foil tells a different story: lint packs into every fold, low spots sag and hold moisture, and the hose is often squashed flat against the wall. For the short link behind the dryer, a semi-rigid metal transition is a reasonable compromise because it bends without collapsing. For the run through walls and ceilings, we prefer solid metal pipe wherever the layout allows it.
We recommend replacement when cleaning would only be a temporary patch. Typical examples: a foil connector split along its folds, a section inside the ceiling that has come apart and is blowing lint into the cavity, or galvanized pipe rusted through by repeated condensation. We also see vents assembled with screws poking into the airflow, which catch lint like a comb. When a run is in that condition, a new duct with smooth joints and a sound hood usually works out better over time than repeated cleanings that never quite restore the airflow.
Trapped moisture almost always means the exhaust is moving too slowly, and it is one of the more useful clues we get. Every load of wet laundry releases a surprising amount of water as vapor, and all of it has to travel through the duct. If the air slows down, it cools before it gets out, and the water drops out inside the pipe. We find this most in long runs through unheated attics, garages and crawlspaces, and in ducts that sag and let water pool. Wet lint turns into a paste that blocks airflow faster than dry lint does. Correcting the slope, insulating exposed sections and clearing the buildup usually solves it.
Long drying times come down to airflow. A dryer heats air, pushes it through the tumbling clothes and has to dump that wet air outside so fresh air can take its place. When lint narrows the duct, moist air lingers in the drum and the clothes stay damp. We can measure the difference on the job: air at the hood is weak before cleaning and noticeably stronger after. If airflow turns out to be good and drying is still slow, we look elsewhere, such as the washer’s spin speed, a failing heating element or a moisture sensor that needs an appliance technician.
For most replacements, the run through walls and ceilings is done in rigid metal duct and only the short connection behind the dryer is flexible, using semi-rigid metal rather than foil or plastic. Rigid duct keeps a smooth, round path that lint does not catch on, while a semi-rigid transition gives the dryer room to move. The joints are usually sealed with foil tape instead of screws that would reach into the airflow. A replacement may also include a new outside hood. Ask what route and materials are planned and how the old duct will be removed or capped.
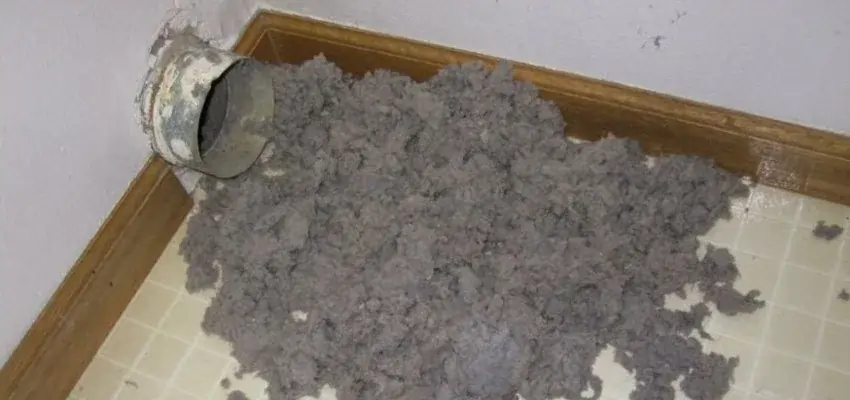
At Chimney Sweep Edmonton, our process follows the air. We start at the dryer, checking the outlet and the transition, then work along the duct with a flexible rod and a brush head sized to the pipe while a vacuum or blower carries the debris away. Tight elbows get extra passes because that is where lint compacts. At the exterior we clear the hood and make sure the flap moves freely. Before and after cleaning, we test airflow at the termination, which gives us a simple way to show the improvement. If we spot damage along the way, we point it out rather than quietly working around it.
When we put together a price, we are really estimating time and access. A short vent through the wall behind the laundry room is quick. A vent that crosses a finished basement ceiling, climbs to the roof or exits three stories up needs more equipment and more care. Heavy buildup or a nest takes extra passes. Parts are separate from labor, so a new transition hose or hood shows up as its own line. We would rather explain those factors up front than surprise anyone, which is why we ask a few questions about your dryer vent before giving a figure.
A straightforward replacement, such as a new connector and a short run through an exterior wall, often fits into a few hours. Longer routes, ceiling or basement runs, roof exits and jobs that involve opening and closing drywall can take most of a day or be split across two visits. The time also depends on how easily the old duct comes out. When you request a quote for “dryer vent replacement”, ask for an estimated duration and whether you will be without the dryer overnight, so you can plan laundry around the work.
Sometimes, but not always. If the duct runs through an unfinished basement, a utility room or an accessible attic, it can usually be replaced without touching finished surfaces. When it is sealed inside a finished wall or ceiling, the installer may need small access openings at joints or elbows, or may suggest a new route that avoids the old one. Ask before work starts who will patch and paint any openings, since some vent companies handle drywall repair and others leave it to you or a contractor. A clear plan avoids surprises during dryer vent replacement.
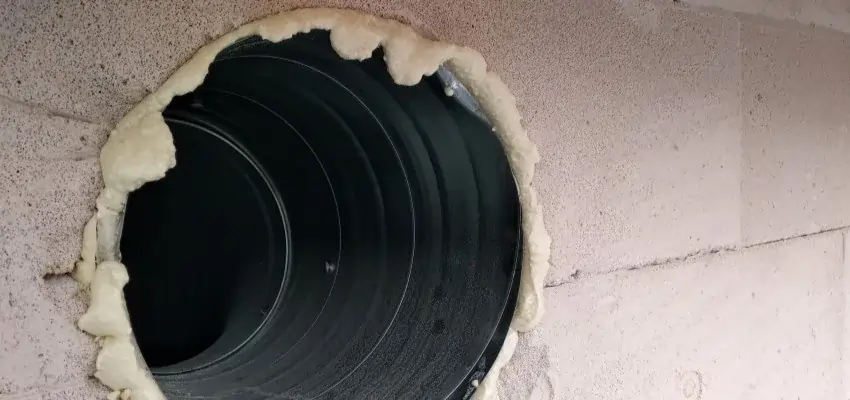
The weeks before heavy use are the calmest time to deal with your dryer vent. Appointments are easier to find and any repair can be planned without pressure. Book dryer vent replacement in Edmonton while your calendar still has room.
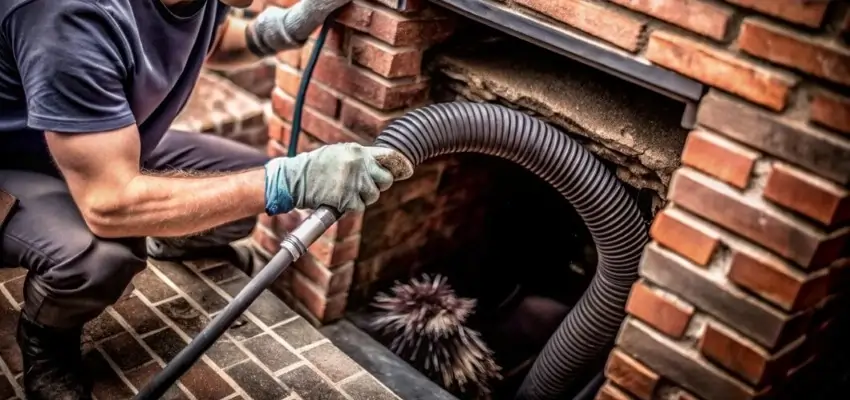
Less smoky smell, steadier flames: Chimney Cleaning around Edmonton

Creosote cleared, flue inspected: Chimney Sweep for Edmonton
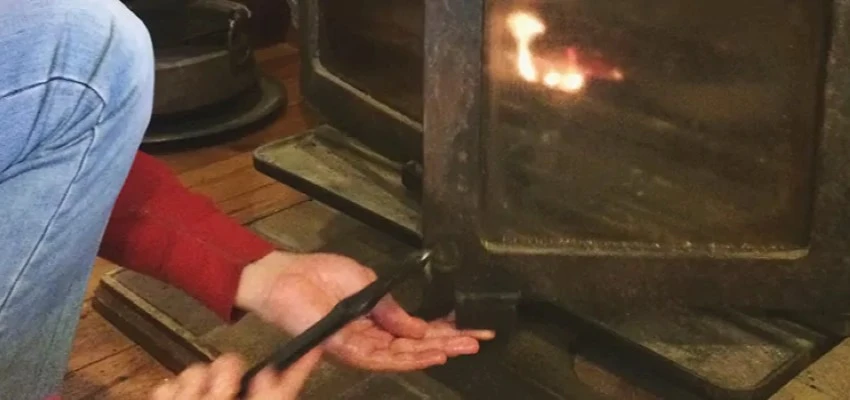
What's included in Chimney Sweep Services around Edmonton?

Before relighting in Edmonton, a visit from Fireplace Experts
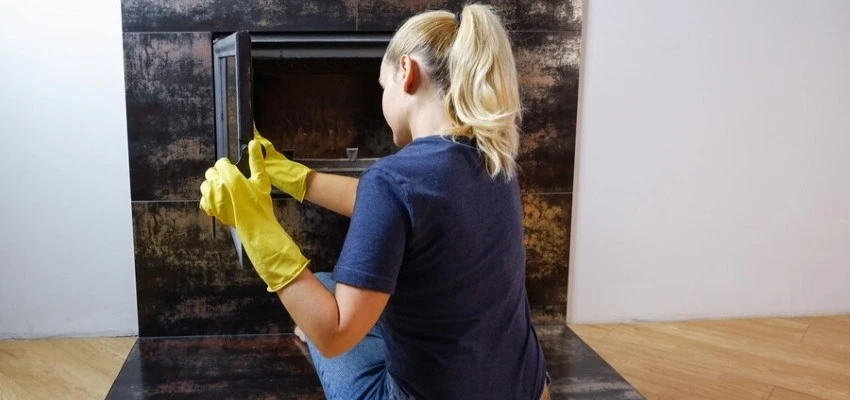
Gas Fireplace Cleaning, glass to burner ports
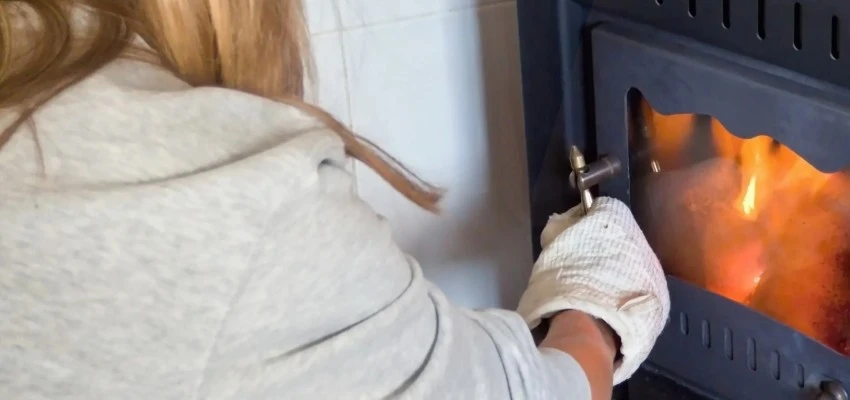
Burner ports, pilot hood, glass: Gas Fireplace Maintenance around Edmonton