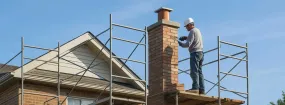
Older brick chimneys and newer factory-built ones wear out in different ways, yet the questions owners ask about them are surprisingly alike. How bad is it? Can it be fixed instead of replaced? Is the fireplace safe to use in the meantime? This page answers those questions for people in Edmonton researching “chimney restoration”, with plain detail on chimney masonry restoration and the factors that change the plan from one house to the next.
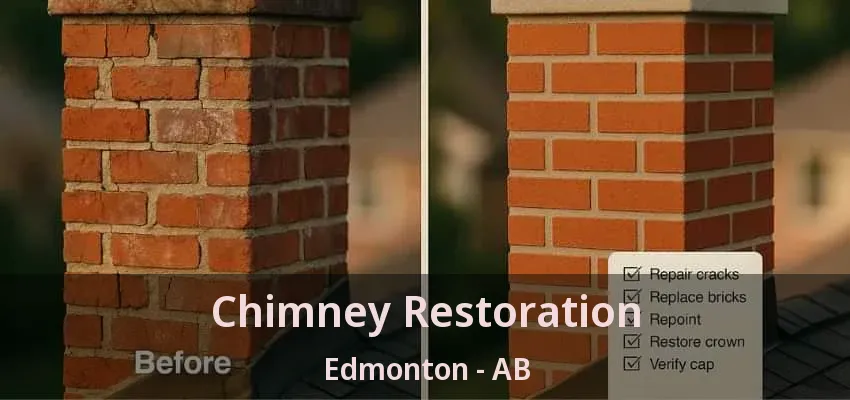
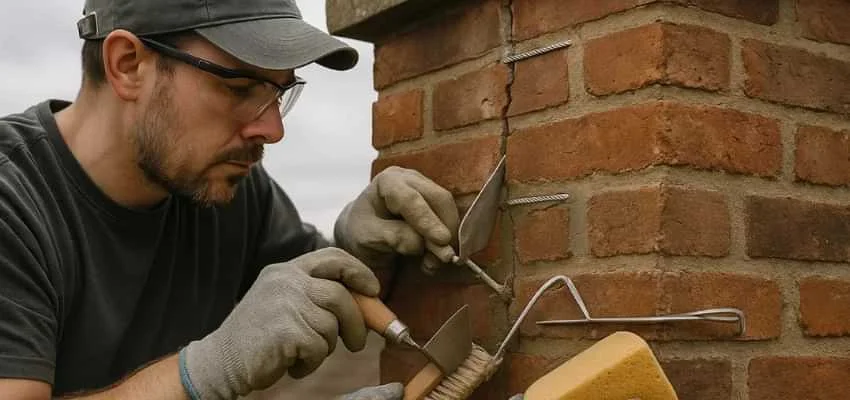
In everyday use, tuckpointing means the same as repointing: replacing failing mortar joints, one of the most common chimney jobs we do. Mortar is meant to be the sacrificial part of a brick wall: it is softer than the brick and wears first, which is exactly what you want. After enough seasons of rain, sun and temperature swings, joints shrink, crack and wash out. Tuckpointing removes that worn material and replaces it with mortar matched to the original in strength and color. Done properly, it restores a weathertight surface without disturbing sound bricks, so the chimney keeps its original look.
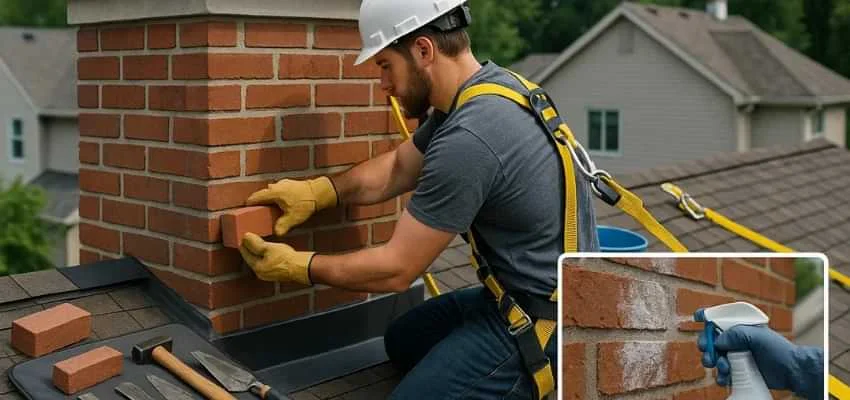
Spalling is almost always a water story, and the pattern of the damage tells us where the water comes from. Flaking concentrated near the top of the stack points to a cracked crown or a missing cap. Damage along one side often matches the direction of driving rain. Bricks that crumble right next to newer, gray, very hard mortar suggest a past repair used the wrong mix. A non-breathable sealer painted on years ago can also trap moisture behind the face. Replacing bricks without fixing the cause just starts the clock again, so we deal with both at once.
Your chimney is most likely leaking at the crown, the flashing, the cap or through porous brick, though the stain rarely appears where the water gets in. Rain that slips past a cracked crown may travel down inside the masonry and show up at the firebox. Flashing leaks tend to stain the ceiling or the attic framing next to the chimney. An uncapped flue lets rain fall straight onto the damper, where it causes rust and a damp smell. Porous brick can wick moisture through the whole stack during long storms. We often test one area at a time with a hose, starting low and working up, so the repair targets the real entry point rather than a guess.
Joints that have shrunk back from the brick face, cracked along the edges or turned soft and powdery are the signs we look for, and they are usually visible from a short distance. Healthy mortar, by contrast, fills the joint, sits tight to the brick on both sides and is shaped to shed water. On the roof, a light scrape with a tool tells us whether it still holds together. We also note where the damage sits: the top few courses and the weather-facing side usually go first. Repointing those areas promptly keeps water from reaching the core of the chimney.
The aim is to change as little as possible while making the chimney sound. That starts with matching materials: softer, lime-based mortar for old soft brick, salvaged or carefully chosen replacement bricks and joint profiles copied from the original work. Decorative features such as corbels, banding or clay pots are repaired or rebuilt to the same pattern rather than simplified. Modern parts, like a stainless liner or a top-sealing damper, can usually be added without changing what you see from the street. Ask for photos of earlier chimney masonry restoration projects on homes of a similar age.
A chimney repair visit normally starts with an inspection to confirm the problem and check for anything related. The technician protects the area around the fireplace and, for exterior work, sets up ladders or roof anchors. Then the damaged part is removed or prepared, whether that means grinding out mortar, cutting away old sealant, unbolting a cap or opening a damper assembly. New materials go in, and the work is checked for fit and weathertightness. At the end you should see the finished work or photos of it and hear about anything else that turned up along the way.
It should at least include an inspection of it, and often repairs. A chimney can look perfect from the street while its flue tiles are cracked or its smoke chamber is rough and crumbling. A complete restoration looks at the liner, the damper, the smoke chamber and the firebox as well as the exterior. If the flue needs relining or the damper needs replacing, those items are added to the plan. Doing interior and exterior work together avoids reopening the project later. When comparing quotes for “chimney restoration”, check whether the inside of the chimney is included or left out.
A common guideline is to have a chimney inspected once a year, and many homeowners schedule it before the colder months when the fireplace sees more use. Yearly checks catch small problems such as a loosening cap, a new crack in the crown or a worn mortar joint before they let water in. It also makes sense to have the chimney looked at after a major storm, a chimney fire, a roof replacement or any change of insert, stove or appliance. Chimneys that are rarely used still need checking, because weather damages them whether or not you light fires.
The repairs we make hold up longest when the rest of the chimney system is looked after too. That means a cap that stays in place with clear mesh, a crown kept free of leaves and moss, flashing left alone by anyone doing roof work and regular sweeping if you burn wood, because creosote and moisture attack the inside of the flue. We tell homeowners exactly how long to wait before the first fire after masonry work. After that, a glance at the chimney from the yard after big storms and a professional look once a year usually keeps surprises to a minimum.
Tenants rely on things working, and owners want clear records. We coordinate access, keep the visit short where we can and send a plain summary afterward. Request chimney masonry restoration for your property and tell us how to reach the occupants.
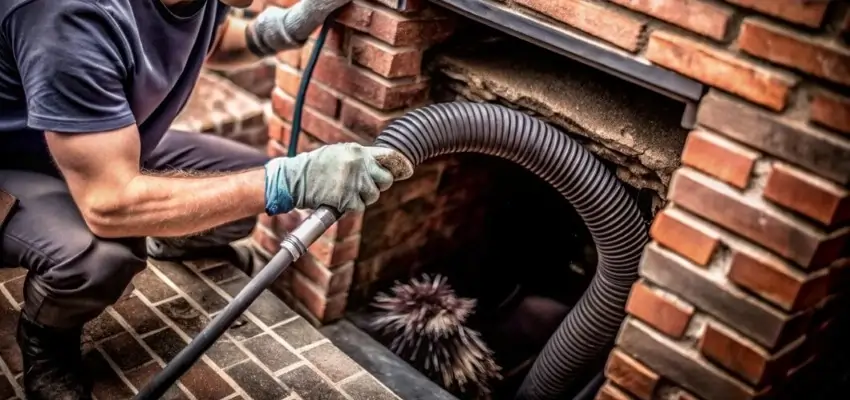
Less smoky smell, steadier flames: Chimney Cleaning around Edmonton

Creosote cleared, flue inspected: Chimney Sweep for Edmonton
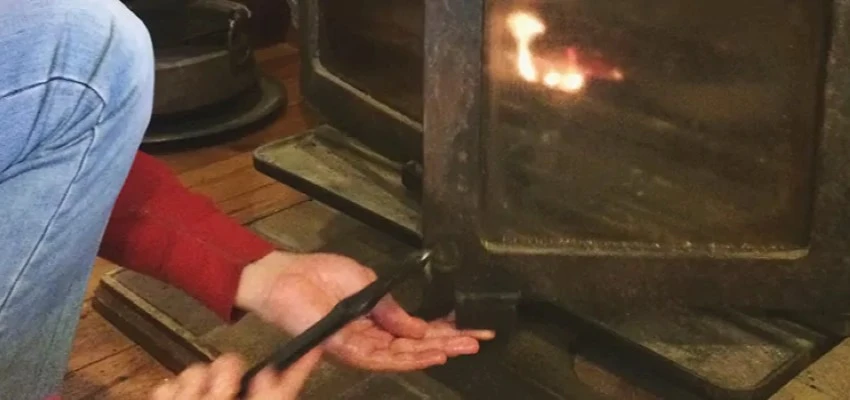
What's included in Chimney Sweep Services around Edmonton?
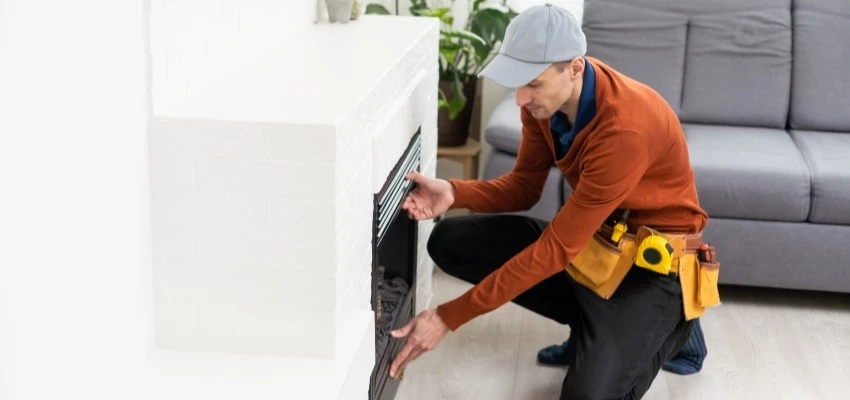
Before relighting in Edmonton, a visit from Fireplace Experts
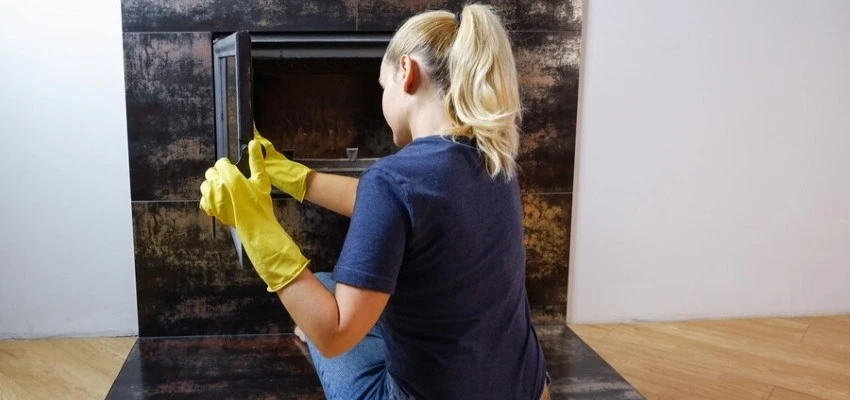
Gas Fireplace Cleaning, glass to burner ports
Burner ports, pilot hood, glass: Gas Fireplace Maintenance around Edmonton