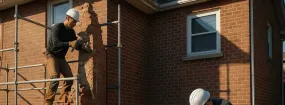
Chimney work comes with its own vocabulary: crowns, chases, flashing, flue liners, dampers and more. You do not need to memorize any of it to make a sound decision, but a little background helps. If you looked up “chimney rebuild services”, the answers here turn the jargon into practical advice for homes in Edmonton and explain what chimney rebuilding actually changes, so your conversation with any contractor feels a lot less like guesswork.
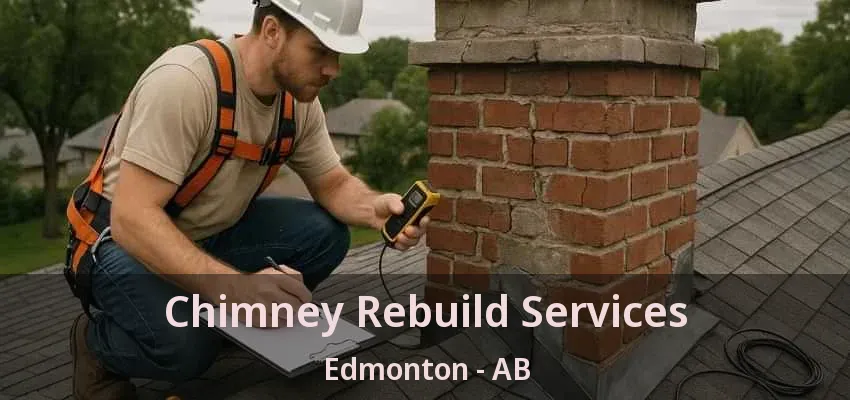
Tuckpointing is the repair of worn mortar joints between the bricks of a chimney. The old, crumbling mortar is raked or ground out to an even depth, and fresh mortar is packed into the joints in layers, then shaped so water runs off the face. Strictly speaking, the word once described a decorative technique using two mortar colors, but today most people use tuckpointing and repointing to mean the same job. The aim is to seal the joints again so rain cannot soak into the chimney, which keeps the bricks tight and protects the structure for many more years.
Sometimes yes, often no, and the deciding factor is whether the damage touches the path the smoke takes. A chipped brick on the outside of the stack is not going to change how the fire drafts tonight. A broken flue tile, a liner with gaps, a crown that lets rain pour into the flue or a fan that has stopped running can. When we are asked this on the phone, we usually suggest leaving the fireplace or stove cold until the chimney has been checked. A few quiet evenings cost nothing, and a carbon monoxide alarm near the bedrooms is cheap protection in any home with a fuel-burning appliance.
A leaning chimney usually points to a problem at the bottom, not the top. The chimney’s footing may have settled because of poor original construction, soil movement or water collecting around the base. Mortar that has washed out over many years can also let the upper stack shift. A gap opening between the chimney and the siding, cracks running diagonally through the brick and a stack that looks off-plumb from the street are the warning signs. Keep people away from the area beneath it and have it assessed promptly. Anyone researching “chimney rebuild services” for a leaning chimney should ask whether the footing will be evaluated too.
The most common signs show up as water, debris or poor performance. Watch for:
Outside, look for white staining on the bricks, gaps in mortar joints and a cap or flashing that looks loose. Any one of these is worth a closer look by someone who can reach the chimney safely.
Chimney bricks usually crumble because water gets into them and then freezes, evaporates or carries salts to the surface. In cold weather, trapped moisture expands as it freezes and pops off the face of the brick, which is called spalling. In milder climates, repeated wetting and drying and salt deposits slowly break down the surface instead. Mortar that is harder than the brick, often from an earlier repair, makes things worse because it forces the brick to take the stress. Crumbling bricks are a signal to find and stop the water source, not just to swap out the damaged units.
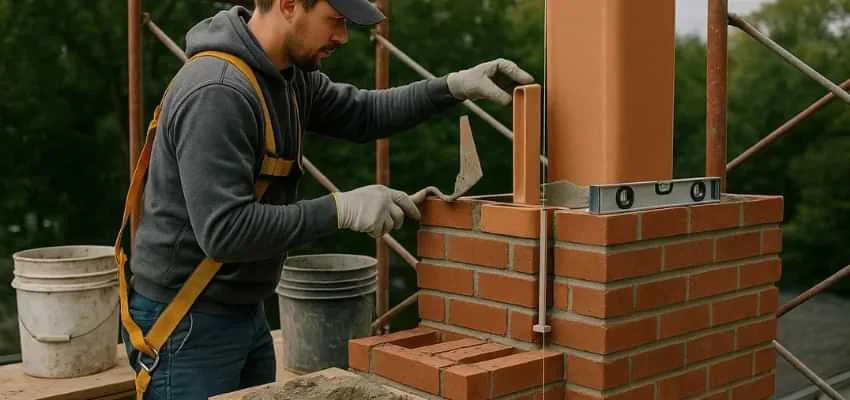
Chimney tuckpointing is done in three stages: removing the damaged mortar, filling the joints with fresh mortar and finishing them to shed water. Old mortar is cut out with a grinder or chisel to an even depth, a common guideline being about twice the width of the joint, and the dust is cleaned away. New mortar, matched in strength and color to the original, is packed in layers so each one firms up before the next. Masons often mix small test batches and let them dry, because wet mortar looks darker. Finally, the joints are tooled to match the rest of the chimney.
We run repairs in a set order: confirm, protect, fix, test, explain. Confirming means checking the chimney ourselves rather than relying only on the phone description, because the cause of a leak or a stuck part is not always where it seems. Protecting covers drop cloths inside and care around shrubs and shingles outside. The repair itself depends on the part involved. Testing might mean running water over new flashing, cycling a damper several times or checking draft with a little smoke. We finish by walking you through what we did and showing photos of areas you cannot see from the ground.
The crew sets up safe roof access, protects the shingles and takes the chimney down brick by brick to a solid course, usually somewhere near the roof. Usable bricks may be cleaned and set aside. The flue tiles or liner are then extended or replaced as the chimney goes back up in fresh mortar, course by course, to the right height. A new crown is formed on top, the flashing is renewed where the chimney meets the roof and a cap is fitted. Debris is lowered and hauled away rather than thrown. Most chimney rebuilding jobs at this scale take several days, depending on weather.
The cost of chimney repair depends mostly on the part being fixed, how much damage there is and how hard the chimney is to reach. A tall chimney on a steep roof needs more equipment and time than a short one on a gentle slope. Materials vary too: stainless steel, copper and custom-sized parts cost more than standard ones, and masonry work depends on how many joints or bricks are involved. Hidden damage found once work begins, such as rotted framing under a chase cover, can add to the total. A written quote that spells out the scope makes comparisons easier.
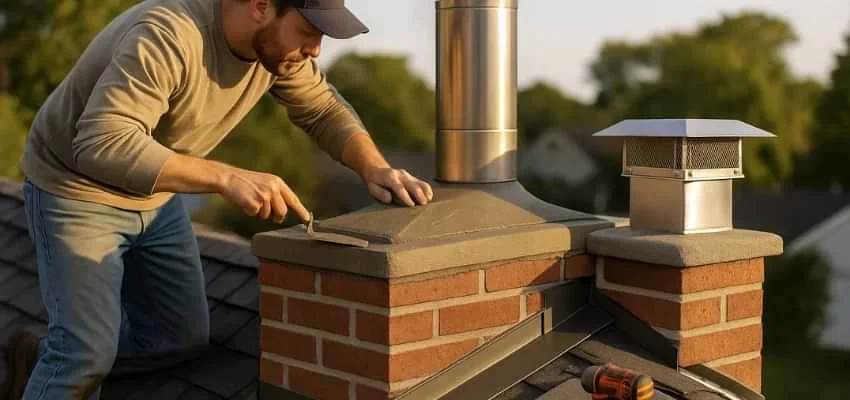
Kids, pets and work schedules all matter when someone visits your home. Let us know what to work around and we will plan the appointment to match. Choose a time for chimney rebuilding anywhere in Edmonton.
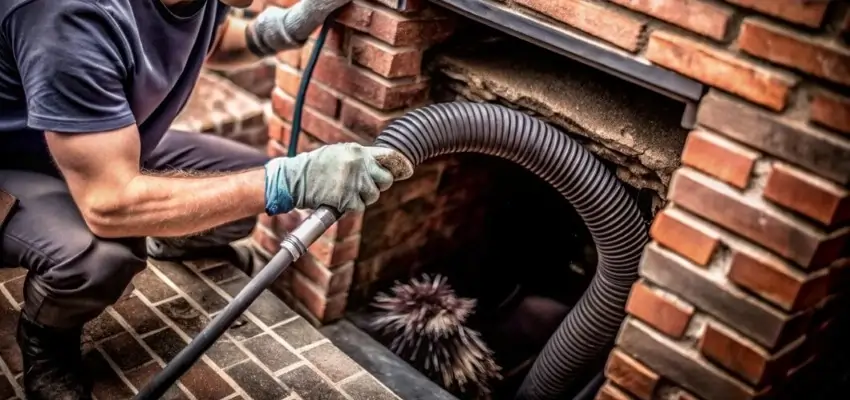
Less smoky smell, steadier flames: Chimney Cleaning around Edmonton
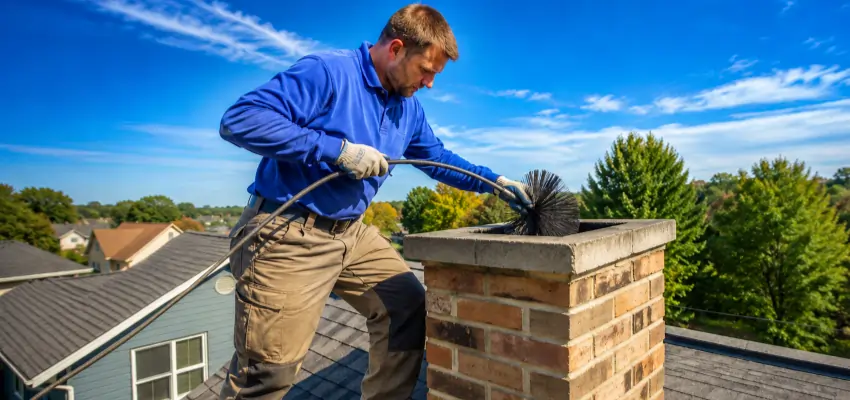
Creosote cleared, flue inspected: Chimney Sweep for Edmonton
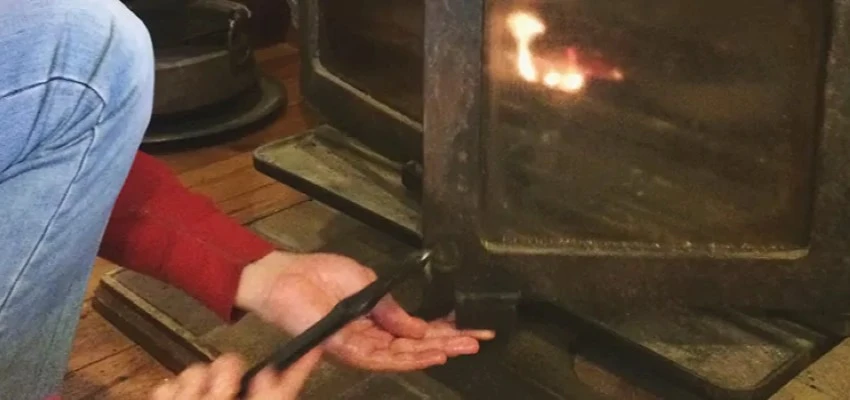
What's included in Chimney Sweep Services around Edmonton?
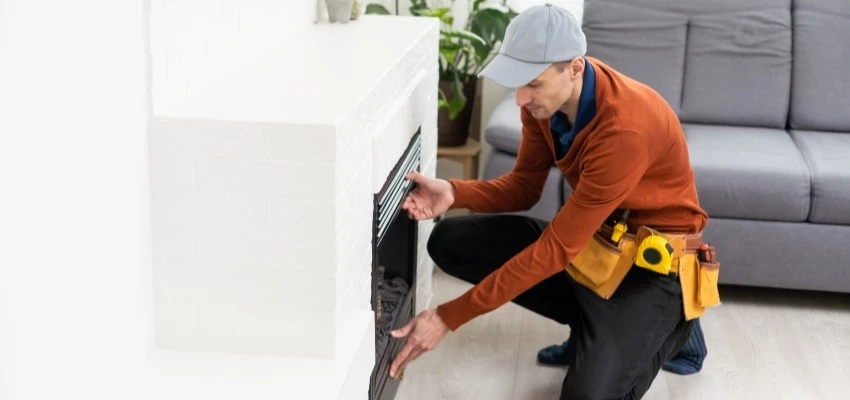
Before relighting in Edmonton, a visit from Fireplace Experts
Gas Fireplace Cleaning, glass to burner ports
Burner ports, pilot hood, glass: Gas Fireplace Maintenance around Edmonton